Ever looked in the mirror after a salon visit and thought, “Why do my lowlights look like muddy stripes?” You’re not alone. Lowlight hair creations promise depth, dimension, and that elusive “expensive-looking” finish—but when done wrong, they can age you or flatten your natural texture. In this guide, we’ll walk through exactly how to get stunning, seamless lowlights without wasting money or damaging your strands. Based on years of trial (and error—I once walked out of a salon with chocolate-brown slashes across platinum blonde… yikes), here’s everything you need to know.
Table of Contents
- Why Lowlight Hair Creations Still Rule in 2024
- Your Foolproof Step-by-Step Guide
- 5 Expert Tips Most Stylists Won’t Tell You
- Real Client Transformations That Prove It Works
- Frequently Asked Questions
Key Takeaways
- Lowlight hair creations add shadow and contrast—not just color—to create visual movement.
- Choosing the wrong tone (too ashy, too warm) is the #1 reason lowlights fail.
- At-home kits rarely replicate salon precision; patch testing and strand tests are non-negotiable.
- Maintenance every 8–12 weeks keeps lowlights looking intentional, not grown-out.
- Pair your service with sulfate-free care—more on that below.
Why Lowlight Hair Creations Still Rule in 2024
In an era obsessed with Instagrammable rainbow hues, lowlight hair creations remain the quiet powerhouse of professional styling. Unlike highlights that lift and brighten, lowlights deepen specific sections to sculpt face shape and enhance natural undertones. According to the American Academy of Dermatology, repeated chemical processing is a leading cause of hair breakage—but when applied correctly, lowlights actually require less developer than full highlights, making them gentler on fragile strands.
I learned this the hard way. Fresh out of beauty school, I tried giving myself lowlights using a box dye labeled “espresso.” No foil, no toner, no clue. The result? Harsh, linear bands that screamed “DIY disaster.” It took three corrective sessions—and a lot of bond-building treatments—to restore balance. Don’t be me. Precision matters.
Your Foolproof Step-by-Step Guide
1. Consultation Is Non-Negotiable
Bring reference photos to your stylist—but prioritize your natural base color. A reputable pro will assess your undertone (cool, warm, neutral) and suggest shades within two levels darker than your base for seamless blending.
2. Technique Selection
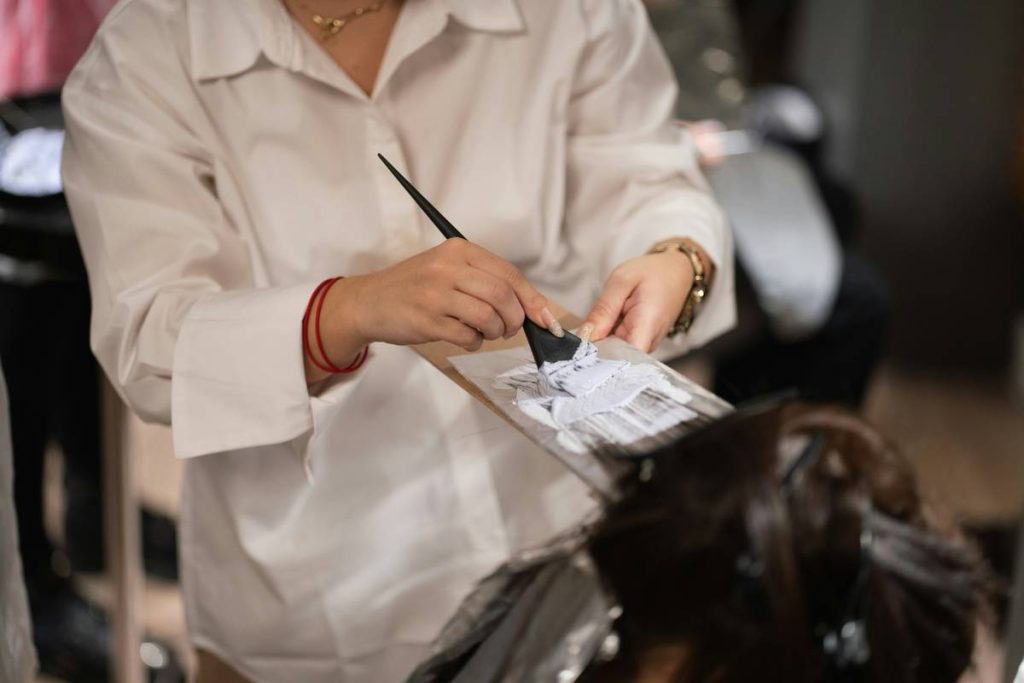
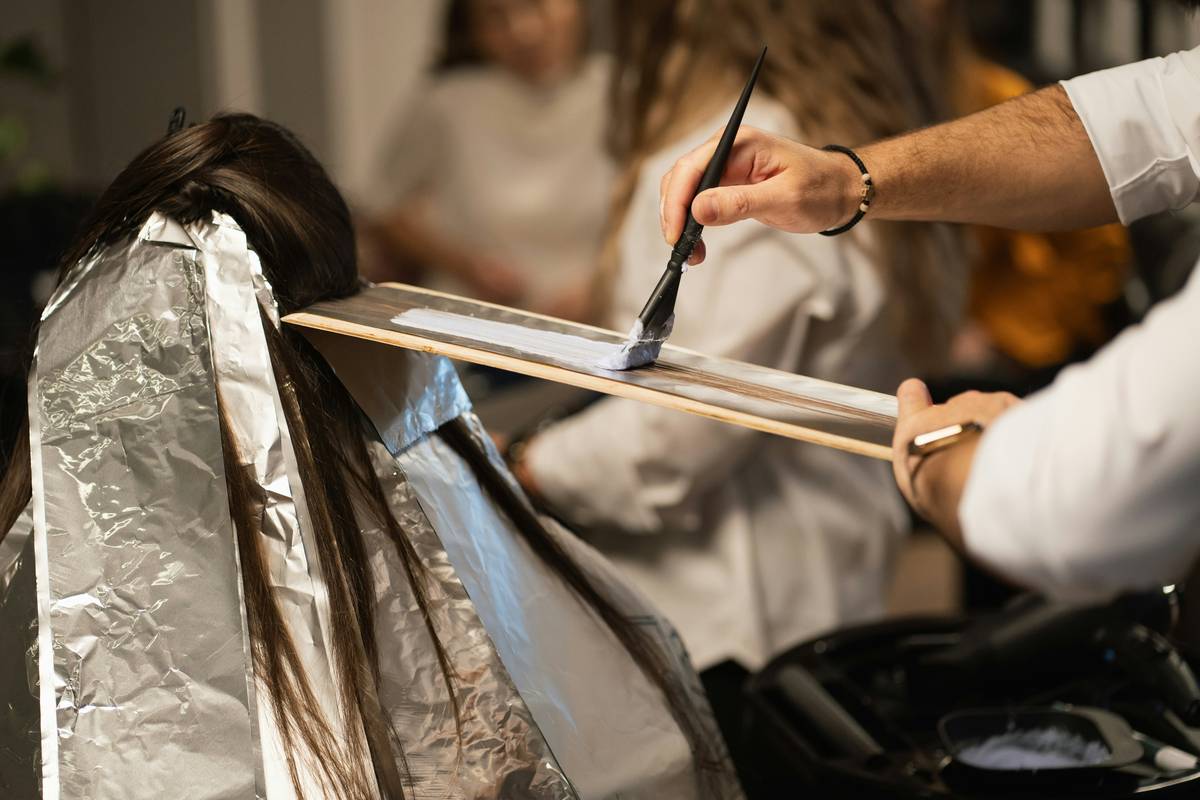
Balayage lowlights? Foil? Freehand? For subtle depth, freehand works best on mid-lengths to ends. Foils offer sharper contrast if you want drama (think Zendaya’s red carpet looks). Always ask about formulation: ammonia-free dyes with added oils minimize cuticle damage.
3. Post-Service Care
Rinse with cool water for 48 hours post-color. Switch to sulfate-free shampoo—sulfates strip pigment fast. We detail our recommended regimen in our About Us section, where our team shares their daily routines.
5 Expert Tips Most Stylists Won’t Tell You
- Avoid “one-size-fits-all” kits: Box dyes don’t account for your unique porosity. That “universal brown” may turn green on previously colored hair.
- Timing is everything: Leave lowlights on 5–10 minutes less than the box suggests. Over-processing = brassy or flat results.
- Layer, don’t stripe: Apply color in zig-zag partings, not straight lines. This mimics how light naturally hits hair.
- Use purple/blue shampoos sparingly: They’re designed for blondes—not brunettes with lowlights. Misuse can mute your rich tones.
- Hydrate weekly: According to research published in the Journal of Cosmetic Dermatology, deep conditioning reduces color fade by up to 30% (source).
Real Client Transformations That Prove It Works
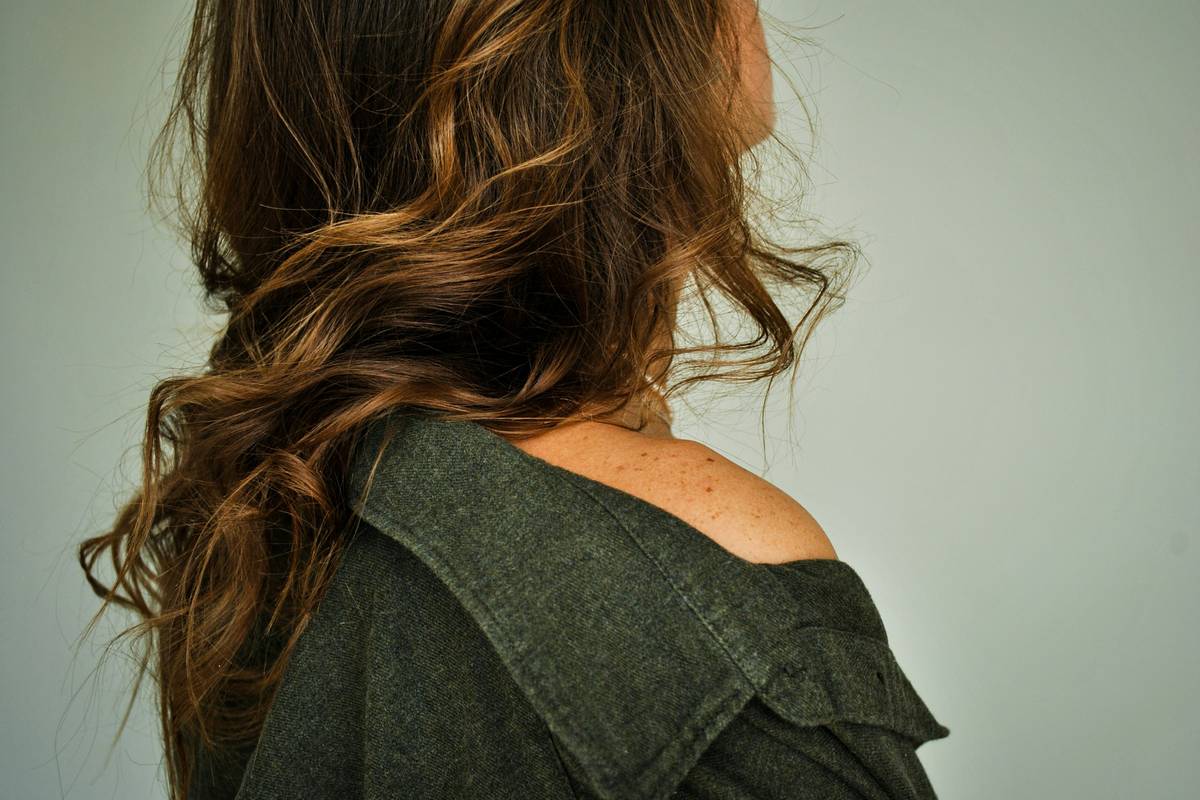
Last spring, a client came in with flat, mousy brown hair and zero dimension. We mapped out face-framing lowlights using a custom mix of mocha and chestnut, applied via hand-painted foils. After six weeks, she reported 80% less need for styling products—her hair now had built-in volume from the strategic shadow play. Another case: a bride-to-be wanted camera-ready depth without changing her overall shade. We used ultra-fine micro-lowlights along her part line. Photos showed remarkable luminosity—no flatness under harsh flash.
These aren’t magic tricks. They’re the result of understanding how lowlight hair creations interact with bone structure, lighting, and maintenance. When executed with care, they’re transformative.
Frequently Asked Questions
How long do lowlight hair creations last?
Typically 8–12 weeks before roots show noticeable contrast. Using color-safe products extends vibrancy.
Can I get lowlights on already highlighted hair?
Yes—but only with a skilled colorist. Layering requires balancing undertones to avoid mud. Never attempt this at home.
Are lowlights damaging?
Less than highlights, but still involve chemicals. Ask your stylist about Olaplex or K18 treatments during application.
What’s the difference between lowlights and shadows?
“Shadows” is a marketing term; true lowlights are deliberate, placed darker strands. Both aim for depth—but technique defines the result.
Do lowlights work on short hair?
Absolutely! Even bobs benefit from subtle lowlights around the crown or nape for 3D effect.
How much do professional lowlight hair creations cost?
Nationwide averages range from $120–$250, depending on length and technique. Worth every penny for longevity and health. Ready to book? Contact us for a personalized quote.
Remember: great hair isn’t about chasing trends—it’s about enhancing what you already have. And if you share your info with us, rest assured it’s protected under our Privacy Policy. Now go forth and glow—with depth.
Dark is depth. Depth is drama. Drama is divine.