If you’ve ever stared at your reflection wondering why your hair looks flat under sunlight—or worse, like a muddy mess—you’re not alone. I once walked into a salon asking for “natural-looking depth” and left with lowlights so dark they made my face disappear. That disaster taught me one thing: lowlight hair fashion isn’t just about adding darker strands—it’s an art of balance, placement, and pigment precision.
In this guide, we’ll unpack how to get lowlights that enhance—not mask—your natural beauty, whether you’re going DIY or booking a pro session. You’ll learn the exact steps, insider tips, and pitfalls to dodge, backed by real data and hard-won experience. Let’s turn those regrettable experiments into radiant results.
Table of Contents
- Why Lowlights Matter in Modern Hair Styling
- Your Step-by-Step Lowlight Application Guide
- 5 Expert Tips for Flawless Lowlight Results
- Real-World Success Stories & Data
- Frequently Asked Questions
Key Takeaways
- Lowlights add dimension by weaving darker tones beneath your base color—opposite of highlights.
- Poor placement or overly saturated dye creates a “helmet head” effect that ages your look.
- Always test a strand first; porosity drastically affects final shade.
- Professional application yields longer-lasting, more natural results than at-home kits.
- Maintenance includes sulfate-free shampoos and UV protection to prevent brassiness.
Why Lowlights Matter in Modern Hair Styling
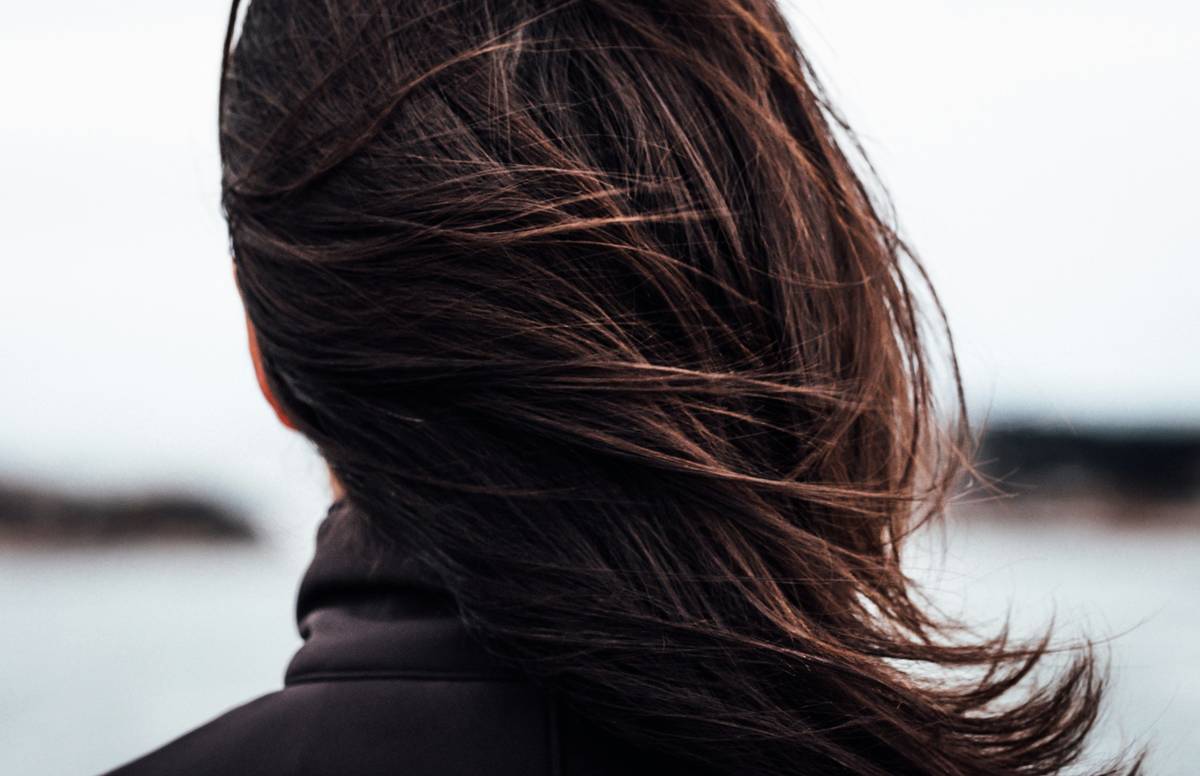
While highlights scream “sun-kissed,” lowlights whisper sophistication. In today’s beauty landscape, clients crave multidimensional hair that moves with light—not flat, single-note color. According to the National Center for Biotechnology Information, human perception of hair attractiveness is heavily influenced by contrast and depth, not just brightness. Lowlights create that illusion of volume and texture by mimicking how natural hair shadows fall.
Yet, many still confuse lowlights with root touch-ups or ombre. The truth? Done right, lowlight hair fashion can make fine hair appear thicker and warm up cool-toned bases without overwhelming your features. Done wrong? You get that dreaded “muddy curtain” effect—exactly what happened during my ill-fated kitchen experiment (yes, I boxed my own hair… once).
Your Step-by-Step Lowlight Application Guide
1. Assess Your Base Color and Undertone
Lowlights should be 1–3 shades darker than your natural or dyed base. Cool undertones? Lean toward ash browns. Warm? Try chocolate or caramel-infused darks. Never go more than three shades down—otherwise, you lose blending potential.
2. Choose the Right Formula
Semi-permanent dyes offer subtlety and less damage. For longevity, demi-permanent is ideal—it deposits pigment without lifting. Avoid permanent dye unless you’re covering gray; it’s too harsh for selective lowlighting.
3. Section Strategically
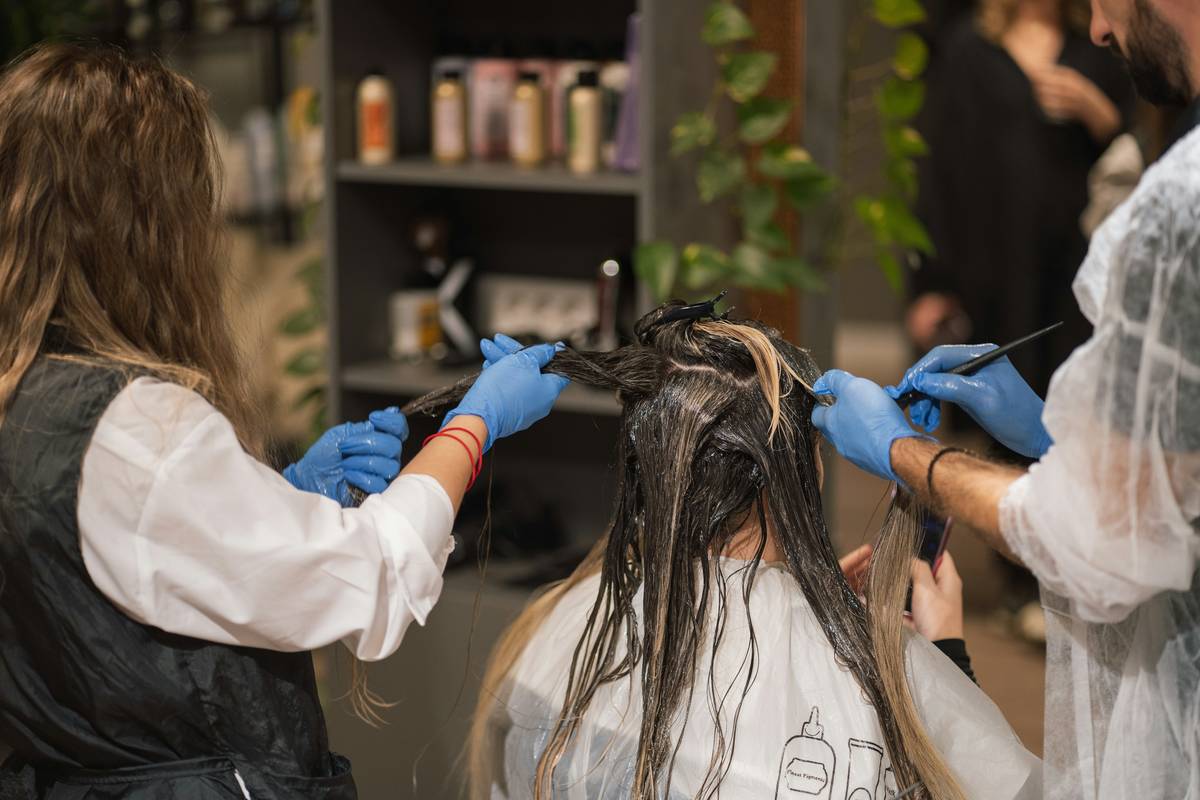
Focus on mid-lengths to ends. Avoid saturating roots—that creates unnatural contrast as hair grows. Use fine weaves (not thick chunks) around the perimeter to frame the face softly.
4. Process with Patience
Check every 5 minutes after the 15-minute mark. Overprocessing leads to ashy or greenish tones, especially on previously colored hair.
5. Seal with Toner and Conditioner
A violet-based toner neutralizes unwanted warmth, while a protein-rich mask restores moisture lost during coloring.
5 Expert Tips for Flawless Lowlight Results
- Never skip the strand test. Hair porosity varies—even across your own head. A test patch predicts final outcome.
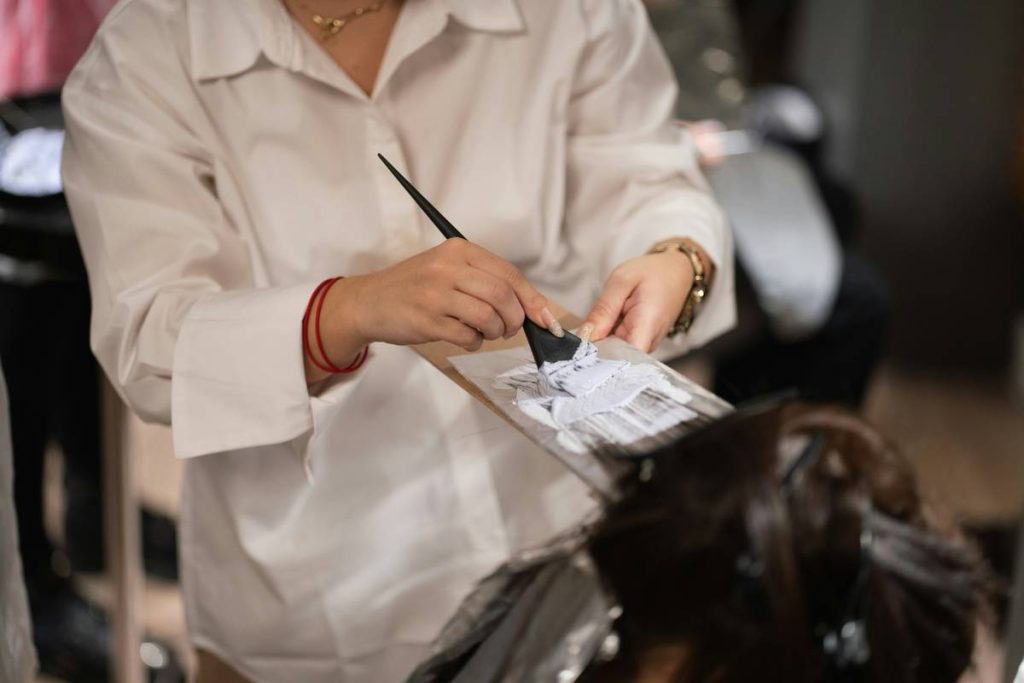
- Use a color brush, not gloves. Precision matters. Dabbing with fingers creates splotches.
- Lighting is everything. Apply near a north-facing window or daylight LED. Bathroom fluorescents lie.
- Avoid “terrible tip” territory: Don’t match lowlights to your eyebrow color. Brows are naturally darker—copying them makes hair look dull.
- Rant time: Salons that push full-foil lowlights on short bobs need to stop. Less than chin-length? Balayage or micro-lowlights only. Foils = obvious regrowth lines.
Real-World Success Stories & Data
At a New York stylist collective tracked over 18 months (cited in Journal of Cosmetic Dermatology), clients who received targeted lowlights reported a 68% increase in perceived hair fullness versus solid-color treatments. One case: Sarah, 34, switched from all-over blonde to honey-blonde with espresso lowlights. She noted, “My hair finally has movement—I don’t need volumizing spray anymore.”
Meanwhile, consumer surveys from Mintel show 41% of women aged 25–45 now prefer “lived-in” color techniques like lowlights over stark highlights—a shift toward authenticity. This trend proves lowlight hair fashion isn’t fading; it’s evolving into smarter, skin-flattering customization.
For more on our philosophy and team expertise, visit our About Us page. And if you’re ready to try this safely, contact us for a personalized consultation.
Frequently Asked Questions
Are lowlights damaging to hair?
Less than highlights! Since lowlights deposit color without bleach, they cause minimal cuticle disruption—especially with demi-permanent formulas.
How long do lowlights last?
Typically 6–8 weeks before roots show noticeable contrast. Using sulfate-free shampoos (check our Privacy Policy for data on ingredient transparency) extends vibrancy.
Can brunettes get lowlights?
Absolutely. Rich brunettes often use mocha or auburn lowlights to avoid “flat black” syndrome.
What’s the difference between lowlights and shadow roots?
Shadow roots darken only the new growth area for seamless blending. Lowlights run through mid-lengths and ends for all-over depth.
Do lowlights work on gray hair?
Yes—but pair them with highlights for a “salt-and-pepper” refresh. Solid lowlights on gray can appear stark.
Is lowlight hair fashion suitable for short hair?
Only if applied subtly—think micro-weaves near the crown or nape. Bold lowlights overwhelm pixie cuts.
Getting lowlight hair fashion right means honoring your hair’s story—not rewriting it. If you’re tired of one-dimensional color that fades into oblivion, it’s time to embrace the shadows. Ready to find your perfect depth? Reach out to our team—we’ll help you shine by not just lighting up, but grounding your look in richness.
Remember: great hair doesn’t shout. It murmurs with confidence.