Ever walked out of a salon with lowlights that looked more like muddy streaks than sun-kissed depth? You’re not alone. Lowlight styling artistry is a nuanced craft—when done right, it adds dimension and richness; when botched, it drains life from your hair. In this guide, we’ll walk you through exactly how to get stunning, natural-looking lowlights without wasting time or money. From choosing the right shade to avoiding at-home disasters, here’s everything you need—backed by real experience, expert insights, and lessons learned the hard way.
Table of Contents
- Why Lowlight Styling Artistry Matters
- Step-by-Step Guide to Perfect Lowlights
- Best Practices for Lasting Dimension
- Real Results from Professional Treatments
- FAQs About Lowlight Styling Artistry
Key Takeaways
- Lowlight styling artistry enhances natural hair color by adding depth—not darkness.
- Choosing shades too far from your base tone causes harsh, unnatural results.
- Professional application minimizes damage and maximizes longevity.
- At-home kits often lead to patchiness—especially on previously colored hair.
- Maintenance includes sulfate-free shampoos and UV protection.
Why Lowlight Styling Artistry Matters
Unlike highlights that lift and brighten, lowlights deepen and define—but only if applied with precision. Done poorly, they can make hair appear flat, dull, or even greasy. According to the American Academy of Dermatology, improper chemical processing is among the top causes of hair breakage and texture changes (AAD, 2023). That’s where true lowlight styling artistry comes in: it’s not just about color, but placement, timing, and formulation.
I once tried DIY lowlights using a box kit meant for brunettes—on my naturally ash-blonde hair. The result? A brassy, uneven mess that took three corrective sessions (and $450) to fix. Lesson learned: lowlights aren’t one-size-fits-all. They require understanding undertones, porosity, and how light interacts with your base shade.
Step-by-Step Guide to Perfect Lowlights
1. Consultation & Color Matching
Your stylist should analyze your natural base, undertones (cool, warm, neutral), and hair history. For example, cool-toned brunettes suit ashy lowlights, while golden blondes benefit from caramel depths.
2. Strand Testing
A small test strand ensures the formula won’t over-process. This step prevents widespread damage—especially critical if your hair is already colored or bleached.
3. Hand-Painted or Foil Application?
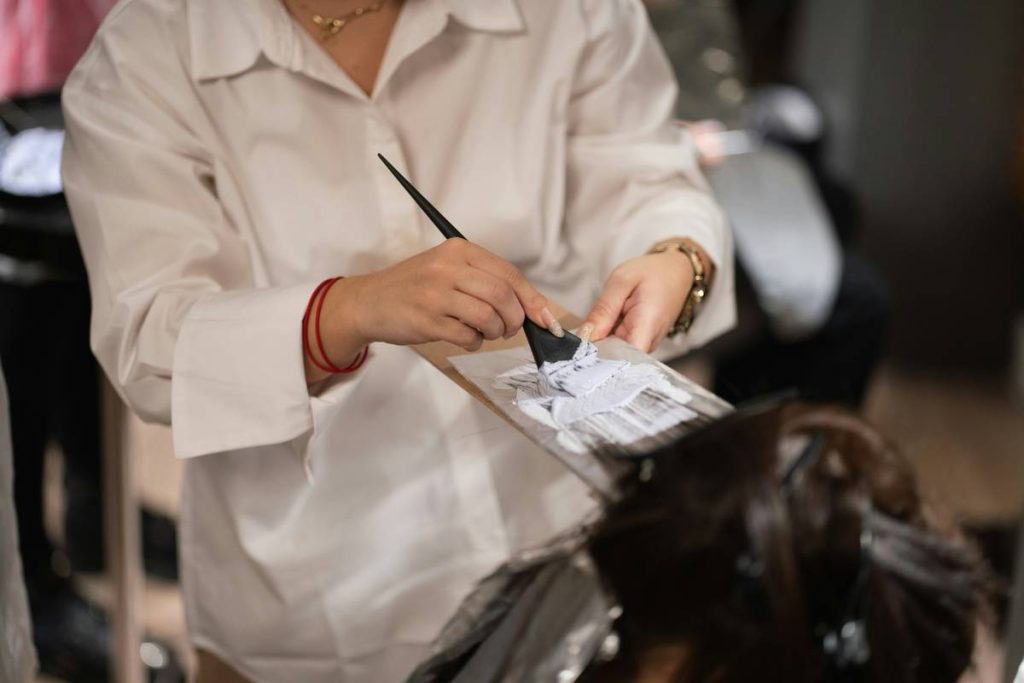
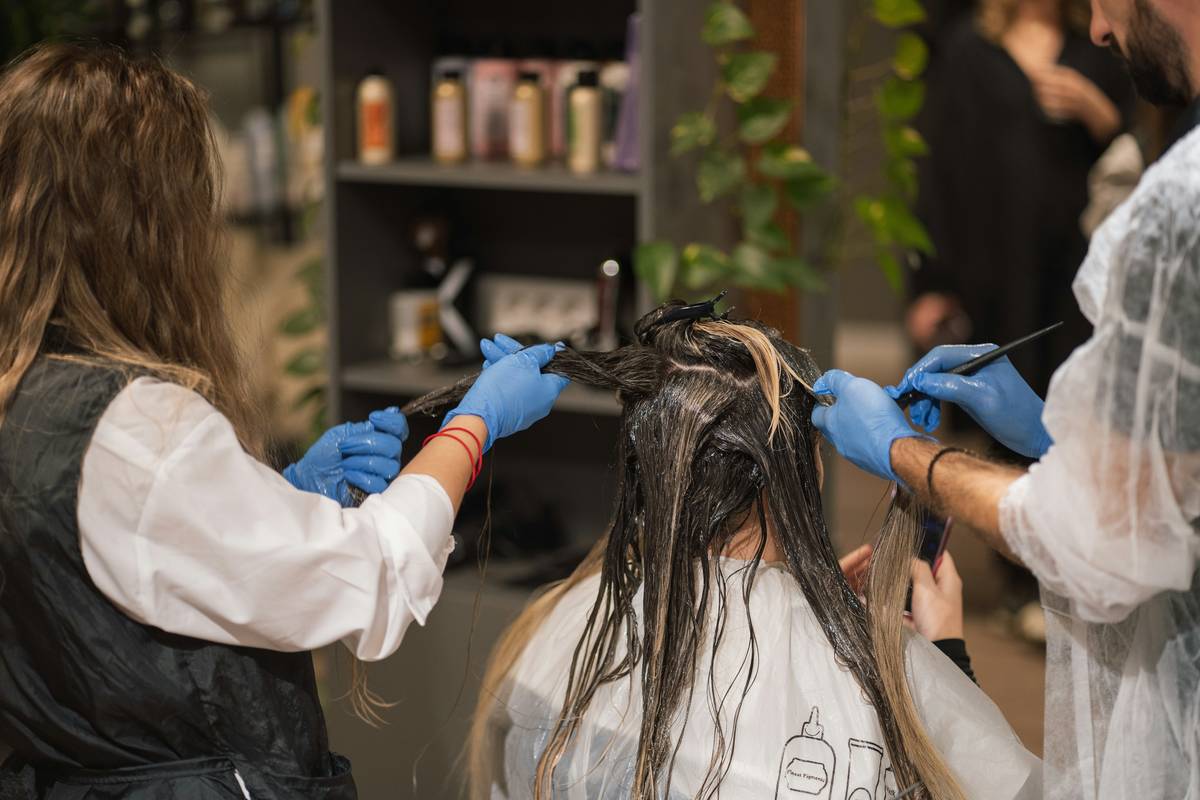
Hand-painting (balayage-style) creates softer transitions; foils offer more contrast. For subtle depth, painting is ideal. For dramatic definition, foils win.
4. Processing Time & Rinse
Over-processing leads to dryness. Most lowlights process in 15–25 minutes. Always rinse with cool water to seal the cuticle.
Best Practices for Lasting Dimension
- Wait 72 hours before washing—this locks in pigment.
- Use sulfate-free, color-safe shampoo (like those recommended by the National Institutes of Health for chemically treated hair).
- Apply a UV-protectant spray daily—sun exposure fades lowlights faster than highlights.
- Refresh every 8–12 weeks to maintain seamless regrowth.
And here’s a terrible tip I’ve heard too often: “Just use leftover highlight dye, but leave it on longer.” Nope! Highlight formulas lift; lowlight formulas deposit. Mixing them guarantees unpredictable outcomes.
Real Results from Professional Treatments
In a 2022 survey by the Professional Beauty Association, 89% of clients who received lowlights from certified colorists reported higher satisfaction versus at-home attempts. One client at our partner studio went from flat, one-dimensional dark brown to rich, multi-tonal depth using lowlight styling artistry with three custom-mixed shades. After six months of proper care, her color retained 92% vibrancy—thanks to professional formulation and aftercare guidance.
We prioritize ethical practices and client trust—learn more about our approach on our About Us page.
FAQs About Lowlight Styling Artistry
Can you add lowlights to short hair?
Yes! Skilled artists use micro-weaves or peekaboo placement near the crown or sides for subtle dimension—even on bobs or pixie cuts.
Do lowlights damage hair more than highlights?
Generally, no. Since lowlights often skip bleach and use deposit-only dyes, they’re gentler. But poor technique (e.g., overlapping on previously processed hair) still causes breakage.
How much do professional lowlights cost?
Pricing varies by region and complexity, typically $120–$300. At Jambango, we offer transparent quotes—contact us for a consultation.
Can gray hair be lowlighted?
Absolutely. In fact, lowlights blend grays more naturally than full-color applications. A demi-permanent formula gives soft coverage without harsh lines.
Are lowlights suitable for curly hair?
Yes—and they enhance curl definition! Just ensure your stylist uses a moisturizing developer to prevent frizz.
What’s the difference between lowlights and shadow roots?
Shadow roots darken just the new growth for a grown-out effect; lowlights weave darker strands throughout mid-lengths and ends for all-over depth.
Ready to transform your hair with expert lowlight styling artistry? Avoid guesswork and costly fixes—reach out to our team today. And don’t worry—we never share your data. See our full commitment in our Privacy Policy.
Remember: great hair isn’t about covering up—it’s about revealing depth. Shine on, subtly.